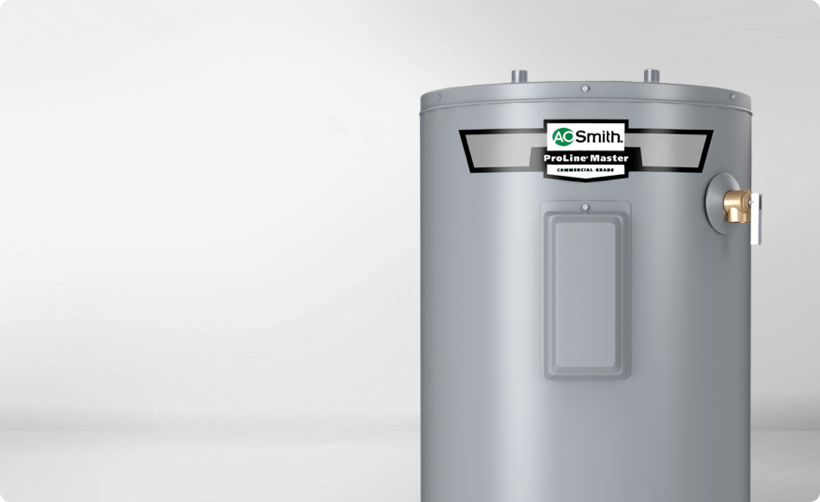
Water heaters play a crucial role in our daily lives, providing hot water for showers, baths, dishwashing, and more. While we often focus on maintaining the heating elements and tanks, one critical component often overlooked is the pressure relief valve. In this blog post, we'll explore the vital role of water heater pressure relief valves and provide step-by-step maintenance instructions to ensure they function effectively, preventing potential hazards.
The Role of Pressure Relief Valves
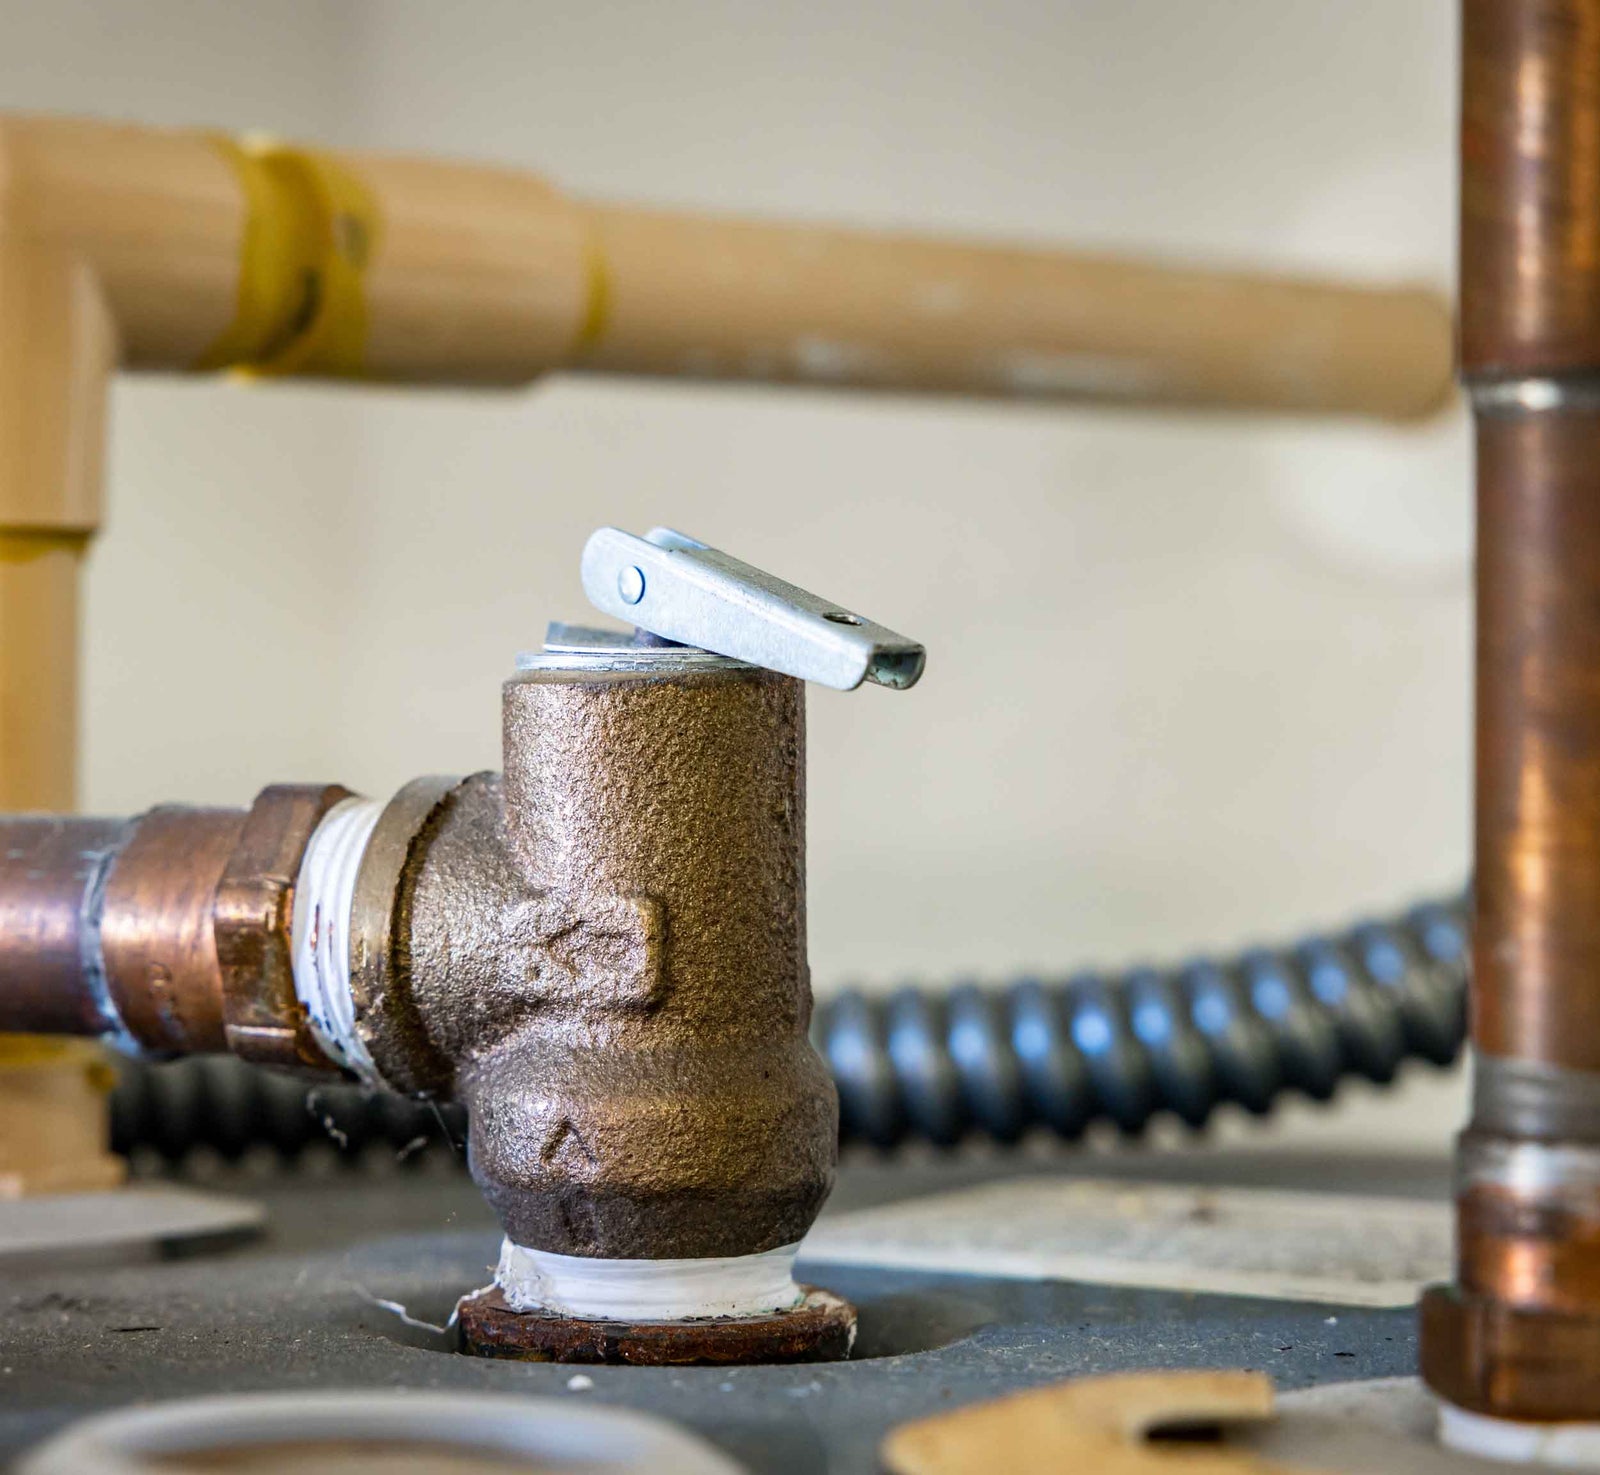
A pressure relief valve, sometimes referred to as a T&P valve (Temperature and Pressure Relief Valve), is a small yet essential safety device in your water heater. Its primary function is to protect the water heater and your home from the dangers of excessive pressure and temperature within the tank.
-
Preventing Explosions: Water heaters heat water, causing it to expand. Without a functioning pressure relief valve, this expansion could lead to an unsafe increase in pressure inside the tank. In extreme cases, the tank could rupture or explode, causing extensive damage and posing a serious safety risk.
-
Avoiding Scalding: In addition to pressure, the T&P valve monitors water temperature. If the temperature exceeds a safe limit, the valve releases a small amount of hot water, reducing the risk of scalding injuries.
-
Protecting Plumbing: The T&P valve also safeguards your plumbing system. If there's a sudden pressure surge in the water heater, it can prevent the water heater from becoming a source of high-pressure water that could damage your pipes.
How to Maintain Your Pressure Relief Valve
Now that we understand the importance of pressure relief valves, let's delve into how to maintain them effectively:
1. Safety First: Always prioritize safety when working on your water heater. Turn off the power (for electric heaters) or gas supply (for gas heaters), and allow the water heater to cool down before attempting any maintenance.
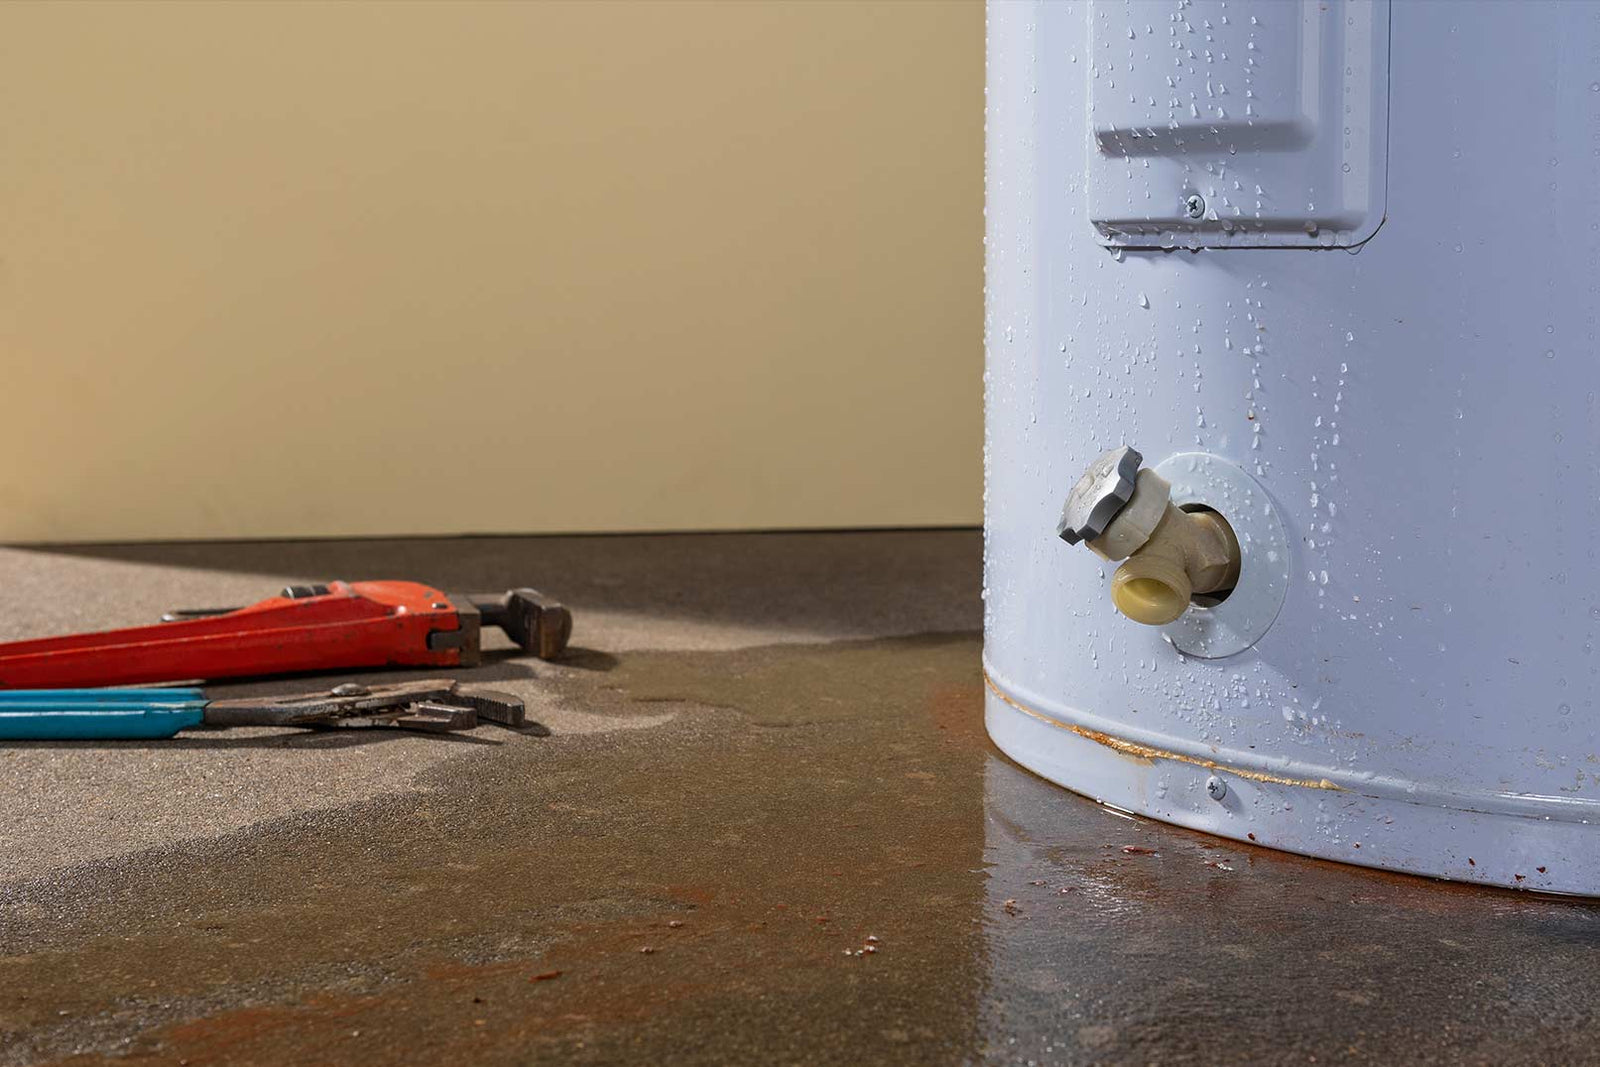
2. Check Regularly: Periodically inspect the T&P valve to ensure it's in good condition. Look for signs of corrosion, rust, or leaks around the valve.
3. Testing the Valve:
- Place a bucket or container under the valve's discharge pipe to catch any released water.
- Lift the lever on the T&P valve briefly. This action should release a small amount of water and create a hissing sound as steam escapes. If nothing happens or if the valve continues to leak after releasing, it may be faulty and should be replaced.
- Release the lever gently to avoid damaging the valve.
4. Flushing the Valve:
- Annually, it's a good practice to flush the T&P valve to prevent mineral buildup and ensure it operates smoothly.
- Turn off the power or gas supply to the water heater.
- Attach a hose to the drain outlet of the T&P valve and run it to a safe location, like a floor drain.
- Lift the lever on the valve and allow water to flow through the hose for a few seconds.
- This flushes out any debris or sediment that may have accumulated in the valve.
5. Replacement: If you notice signs of damage, leakage, or if the valve fails to operate correctly during testing, it's crucial to replace it promptly. Ensure that you use a T&P valve with the same specifications as the original.
Water heater pressure relief valves are unsung heroes in our homes, safeguarding us from potential disasters. Regular maintenance and testing are essential to ensure their proper function. By following these maintenance instructions, you can keep your pressure relief valve in excellent condition, ensuring the safety of your water heater, plumbing, and your household. Remember, if you're unsure about any aspect of maintenance or replacement, it's always best to consult a qualified professional for assistance.


